Deploying a Node.js Application with Docker and Kubernetes
Hey there! Today, I want to share my experience of deploying a Node.js application using Docker and Kubernetes. It was quite a journey, and I learned a lot along the way. If you’re looking to do something similar, I hope this step-by-step guide helps you out!
What You’ll Need
Before we dive in, make sure you have the following tools installed on your machine:
Docker: For containerizing our application.
Kubernetes: I used Kind, but you can use any local setup you prefer.
kubectl: The command-line tool for interacting with Kubernetes.
Git: To clone the project repository.
Step 1: Setting Up the Project
First things first, I created a directory for my project. Here’s how I did it:
mkdir k8s-production
cd k8s-production
Next, I cloned my Node.js application repository. Just replace <repository-url> with your actual repo URL:
git clone https://github.com/mansurianas/node-phontiqe.git
cd node-phontiqe
Docker File
# Use a lightweight Node.js image
FROM node:alpine

# Set the working directory inside the container
WORKDIR /app

# Copy only the necessary files for npm install
COPY . .
COPY package*.json ./

# Install dependencies
RUN npm install

# Copy the rest of the application files
COPY . .
#copy  the public directory to the root
COPY ./client/public /public
# Expose the port the app will run on
EXPOSE 3000

# Command to run the application
CMD ["node", "server.js"]
Step 2: Logging into Docker
Before I could push my Docker image, I needed to log in to my Docker account. This is super easy:
docker login
Just enter your credentials, and you’re good to go!
Step 3: Building the Docker Image
Now it was time to build the Docker image for my Node.js app. I made sure I had a Dockerfile in my project directory, and then I ran:
docker build -t anas011/nodejs:latest .
This command builds the image and tags it as anas011/nodejs:latest.
docker run -p 3000:3000 anas011/nodejs:latest
Step 4: Tagging the Docker Image
After building the image, I needed to tag it for my Docker Hub repository. Here’s the command I used:
docker image tag anas011/nodejs:latest lucky0111/nodejs:latest
Step 5: Pushing the Docker Image
With the image tagged, it was time to push it to Docker Hub. I ran:
push lucky0111/nodejs:latest
I was excited to see the output showing that my image layers were being pushed:
The push refers to repository [docker.io/lucky0111/nodejs]
f5e2a07ec7c2: Pushed
70e7c4b7ec0c: Pushed
...
latest: digest: sha256:...
Step 6: Creating Kubernetes Configurations
Next, I created a directory for my Kubernetes configuration files:
 k8s
cd k8s
Deployment Configuration
I created a file named deployment.yml with the following content:
kind: Deployment
apiVersion: apps/v1
metadata:
  name: nodejs-deployment
  namespace: nodejs
  labels:
   app: nodejs-app
spec:
  replicas: 3
  selector:
    matchLabels:
      app: nodejs-app
  template:
    metadata:
      labels:
        app: nodejs-app
    spec:
      containers:
        - name: nodejs-app
          image: lucky0111/nodejs:latest
          ports:
            - containerPort: 3000
Namespace Configuration
Next, I created a file named namespace.yml:
kind: Namespace
apiVersion: v1
metadata:
  name: nodejs
Service Configuration
Finally, I created a file named service.yml:
kind: Service
apiVersion: v1
metadata:
  name: nodejs-service
  namespace: nodejs
spec:
  selector:
    app: nodejs-app
  ports:
    - protocol: TCP
      targetPort: 3000
      port: 3000
Applying Kubernetes Configurations
Now it was time to apply all the configurations to my Kubernetes cluster. I ran:
kubectl apply -f namespace.yml
kubectl apply -f deployment.yml
kubectl apply -f service.yml
I was relieved to see the output indicating that everything was created or unchanged:
deployment.apps/nodejs-deployment created
namespace/nodejs unchanged
service/nodejs-service unchanged
Step 8: Verifying the Deployment
To check if everything was running smoothly, I used:
kubectl get all -n nodejs
I was thrilled to see my pods running and the service created:
NAME                                    READY   STATUS    RESTARTS   AGE
pod/nodejs-deployment-f5b496ff7-9v89j   1/1     Running   0          49s
pod/nodejs-deployment-f5b496ff7-lqtnc   1/1     Running   0          49s
pod/nodejs-deployment-f5b496ff7-wcgdh   1/1     Running   0          49s

NAME                     TYPE        CLUSTER-IP     EXTERNAL-IP   PORT(S)    AGE
service/nodejs-service   ClusterIP   10.96.54.245   <none>        3000/TCP   115m

NAME                                READY   UP-TO-DATE   AVAILABLE   AGE
deployment.apps/nodejs-deployment   3/3     3            3           50s
Step 9: Port Forwarding
To access my application, I needed to set up port forwarding. I ran:
kubectl port-forward service/nodejs-service -n nodejs 3000:3000 --address=0.0.0.0
I was happy to see the output confirming that the port was being forwarded:
Forwarding from 0.0.0.0:3000 -> 3000
Handling connection for 3000
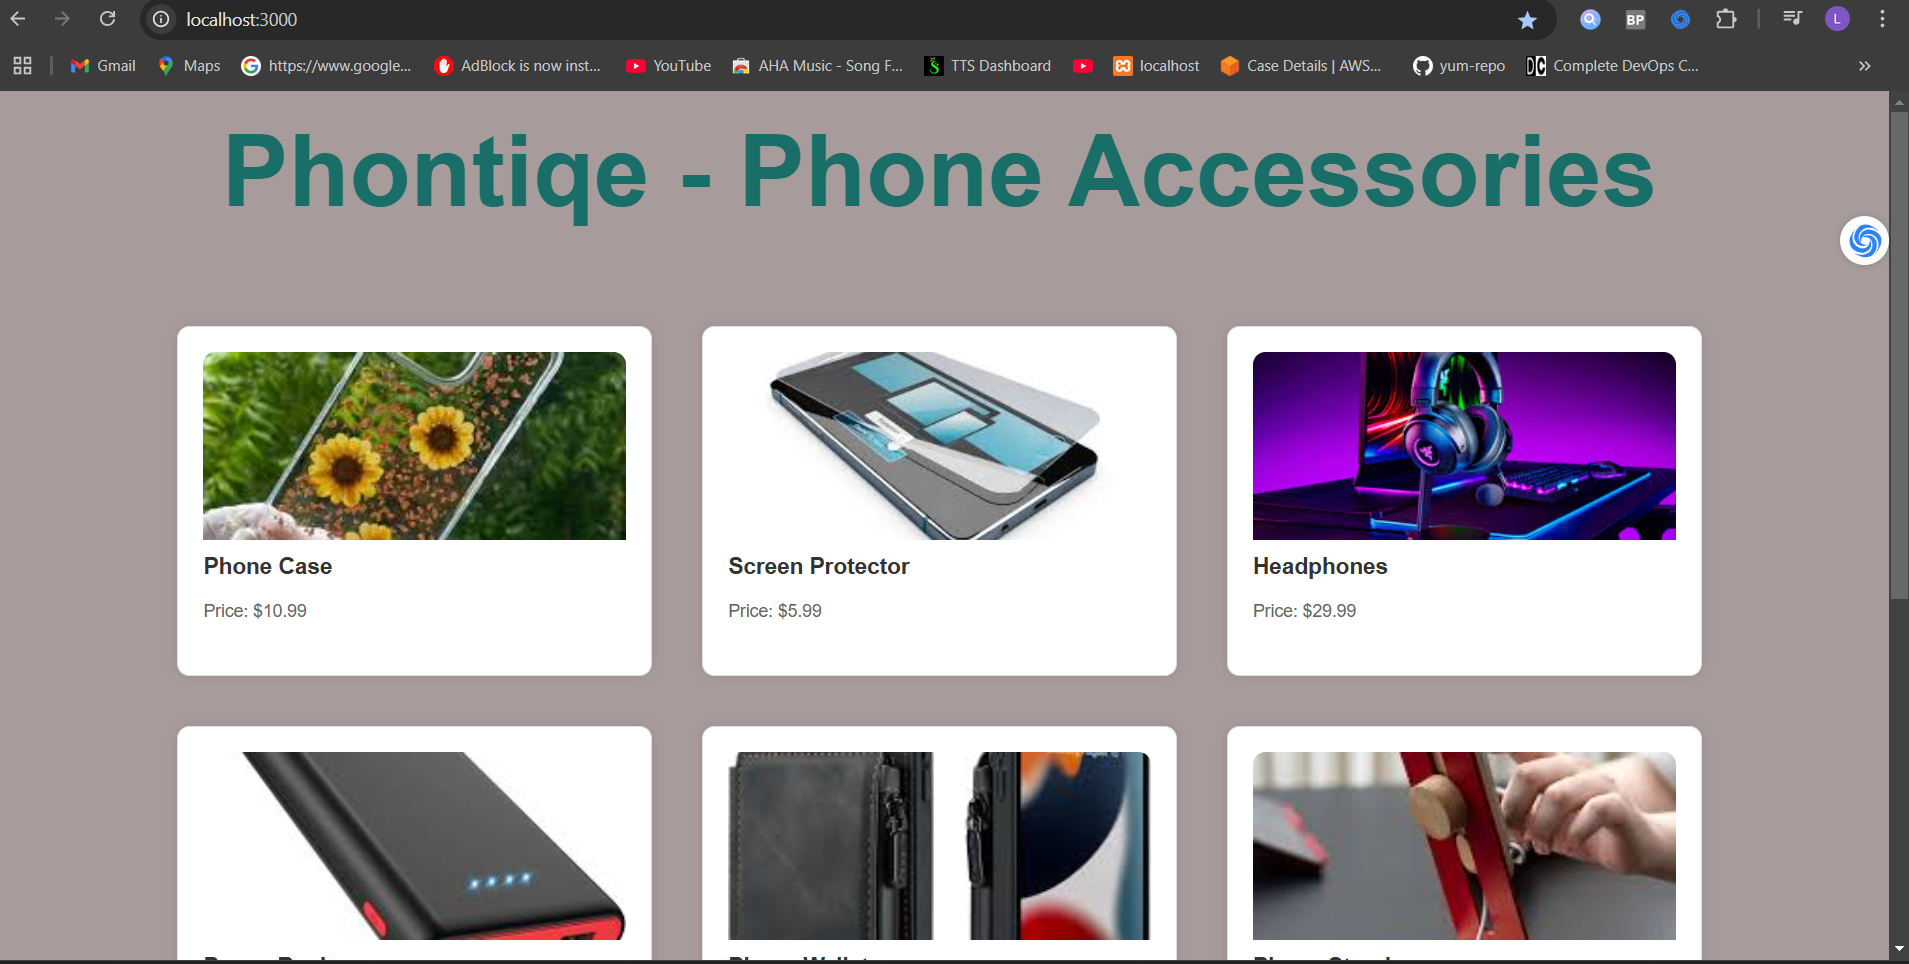
Now, I could access my Node.js application by navigating to http://localhost:3000 in my web browser. It was such a rewarding moment to see my application up and running!
And there you have it! I successfully deployed my Node.js application using Docker and Kubernetes. This whole process taught me a lot about containerization and orchestration, and I hope my experience helps you on your journey too. If you have any questions or thoughts, feel free to drop them in the comments below.